Bear Creek Rapid (The Hole)
Save this feature with the run it belongs to.
Gauge Conditions
Data from American Whitewater & USGS
Photo
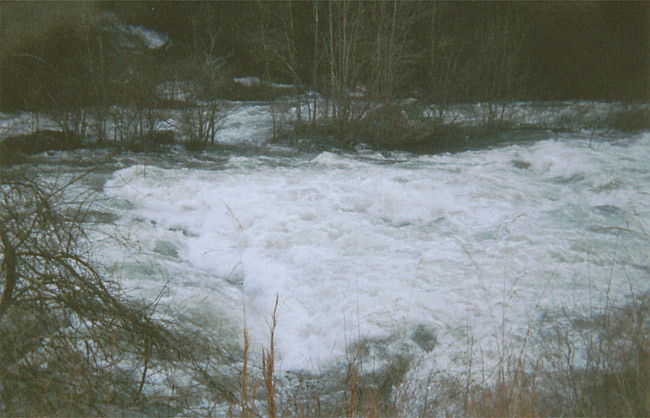
Photo courtesy of American Whitewater
Description
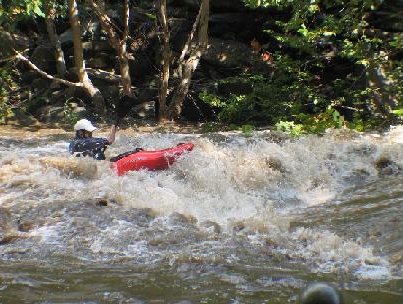
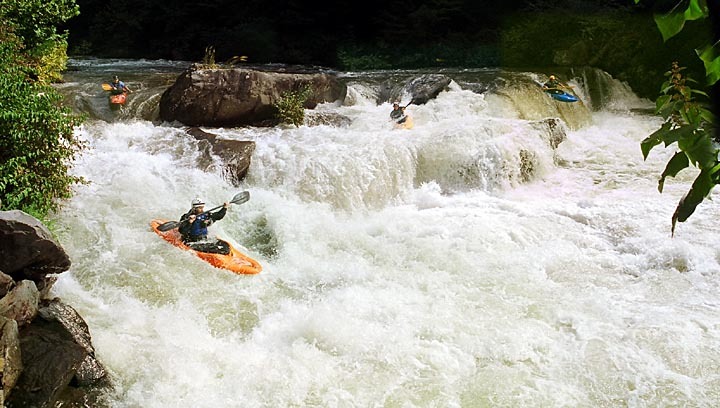
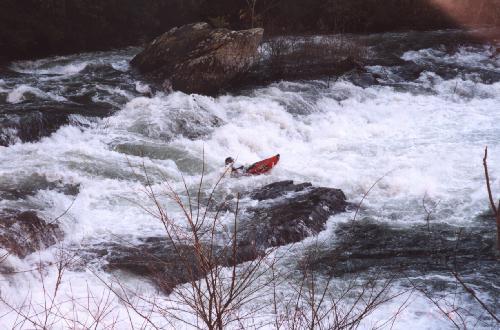
This is a photo of the final hole in the set of rapids below the drop. At mid to high levels, they combine to form one huge rapid. This particular hole can be found at the bottom of the righthand channel. Even at lower to medium levels, this hole is significant, and avoiding it is the toughest part of the Bear Creek Rapid. At levels of 1500 this hole led to a variety of beatdowns and lost gear. Most successful routes were boofing off the left side of the hole. At 1000 cfs there is a minor break in the hole just right of center. The holes backwash is solid at all levels.
Location
Interactive river map
Loads as you approach this section.
Other Rapids on This Run (20)
 Rapid
Rapid
Put-In
 Rapid
Rapid
First diversion pipe
 Hazard
III+
Hazard
III+
Craik's Ledge
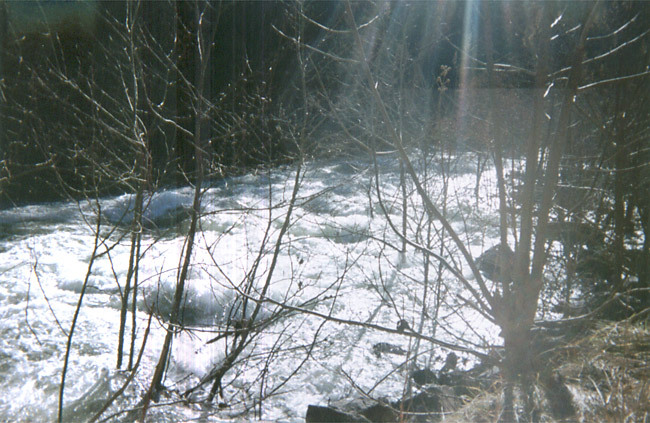 Hazard
IV
Hazard
IV
The rapid above the pipe
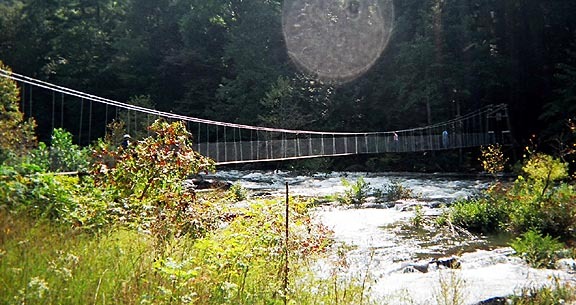 Rapid
III+
Rapid
III+
Swinging Bridge Rapid
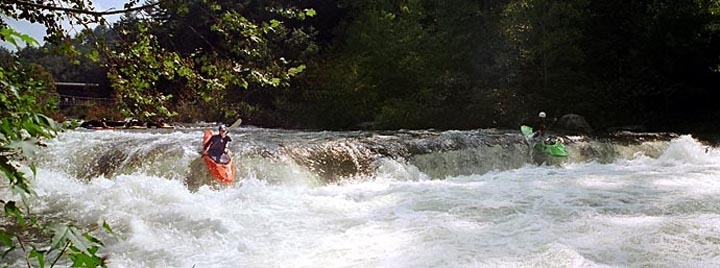 Hazard
IV+
Hazard
IV+
Wilma's Ledge aka God's Dam
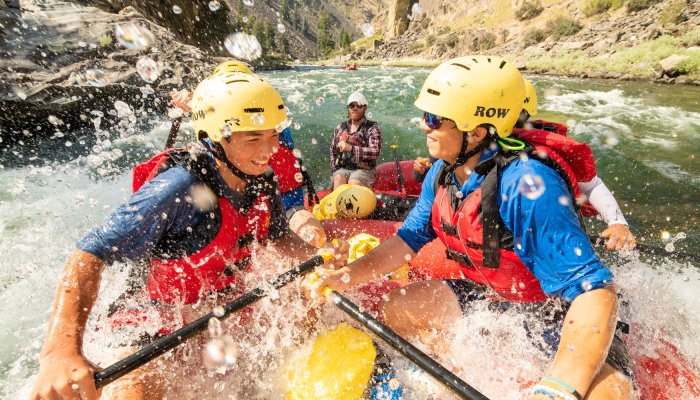 Hazard
IV+
Hazard
IV+
Takeout Rapid (not the takeout)
 Hazard
Takeout/Entrance
 Hazard
Takeout/First Drop
 Rapid
IV
Rapid
IV
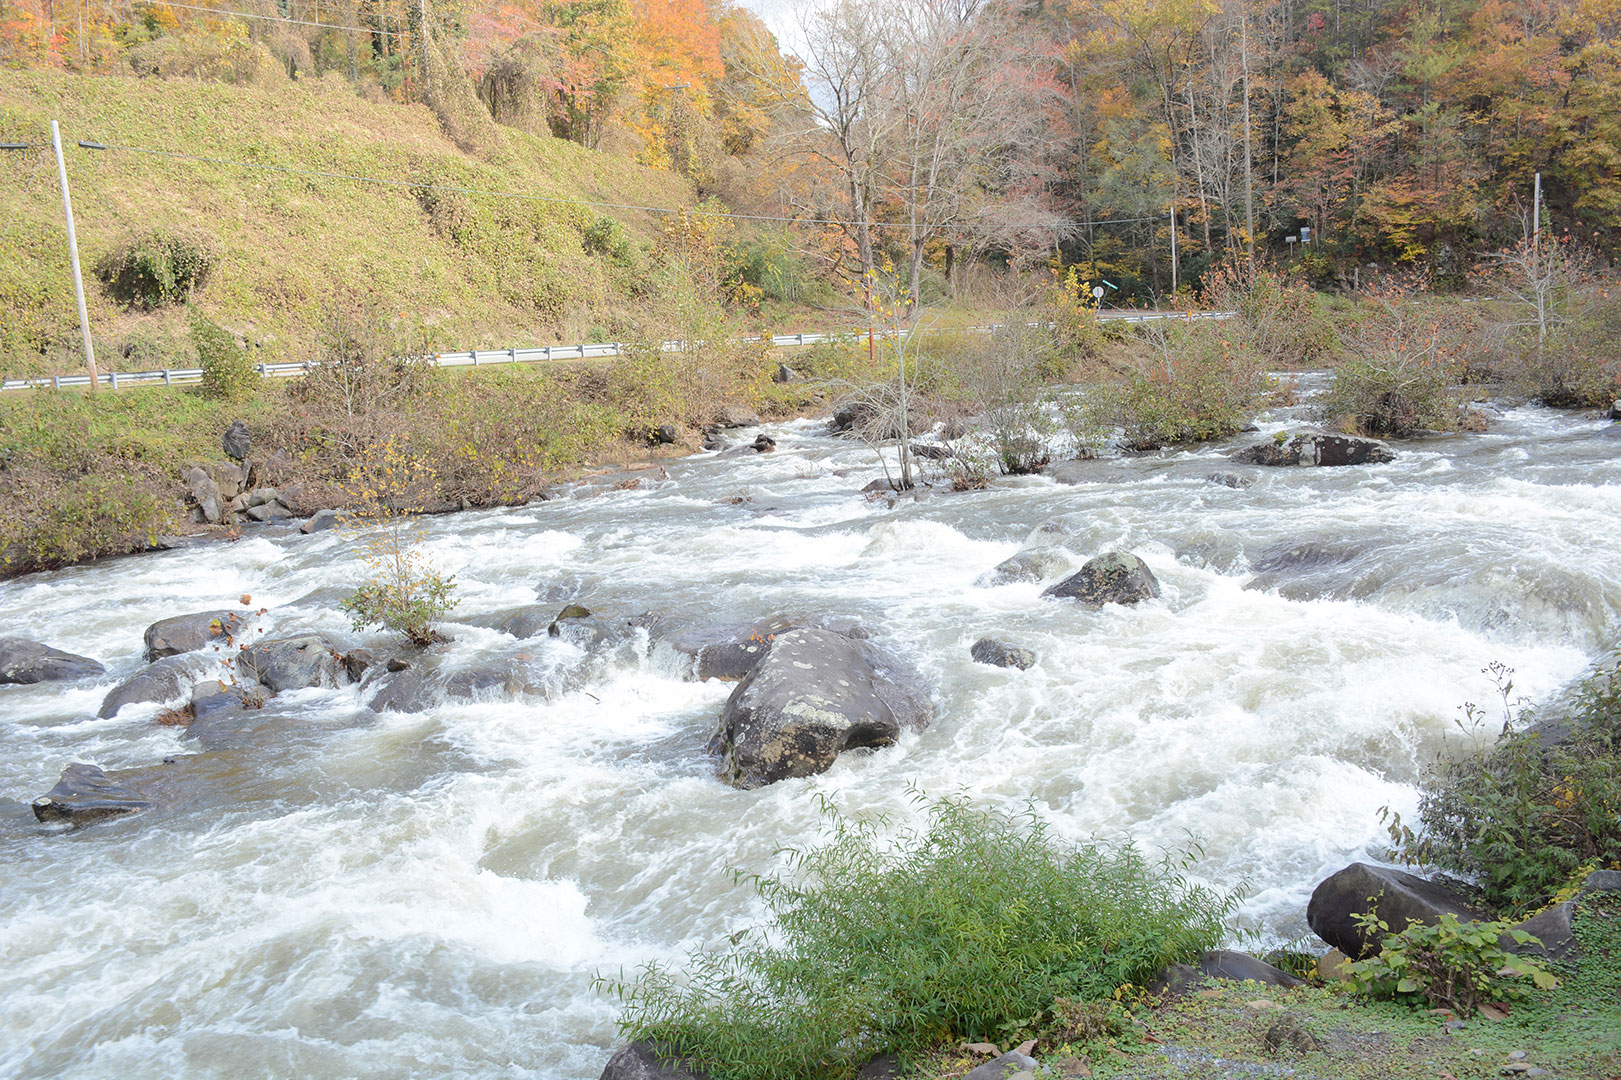
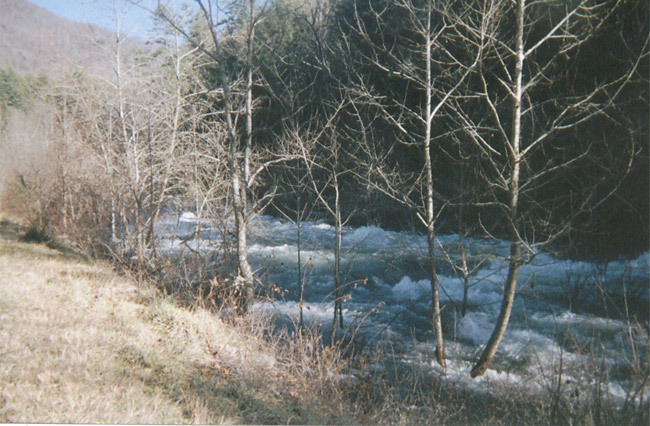
Typical Upper Cheoah Scene
 Rapid
IV
Rapid
IV
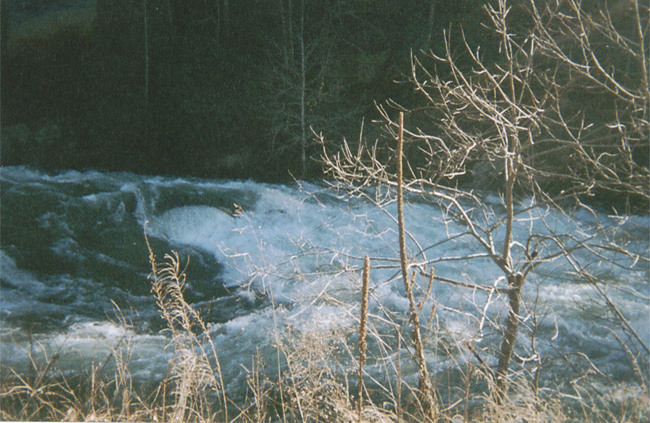
Typical Rapid on the Middle Cheoah - Yellow Creek Rapid.
Rapid
IV
Land of Holes
 Rapid
I
Rapid
I
The deadend pool
 Rapid
III
Rapid
III
The easy stuff
 Rapid
Rapid
The Forest Service Bridge
 Playspot
III
Playspot
III
Rod's Hole
 Rapid
IV+
Rapid
IV+
Entrance to Bear Creek Rapid
 Waterfall
V
Waterfall
V
The Falls
 Hazard
V
Hazard
V
Bear Creek Rapid (The Slide)
 Rapid
IV+
Rapid
IV+
Bear Creek - The left side of the Island.
View Full Run
Santeetlah Dam to Calderwood Lake Boat Launch
Cheoah
IV-V
9.1 mi
Hazard — Exercise extreme caution in this area.
Current Conditions
5-Day Forecast
Whitewater data from
American Whitewater
American Whitewater